When it comes to cycling, visibility and safety are paramount, especially during low-light conditions. Enter the NR 600 Micro Bike Light Manual—a compact, powerful solution that keeps you visible and safe on the road. Whether you’re commuting in the early hours or embarking on late-night bike rides, this guide will help you get the most out of your NR 600 Micro Bike Light.
In this article, we will explore the light’s features, installation process, and maintenance tips to ensure that you ride confidently, no matter the conditions.
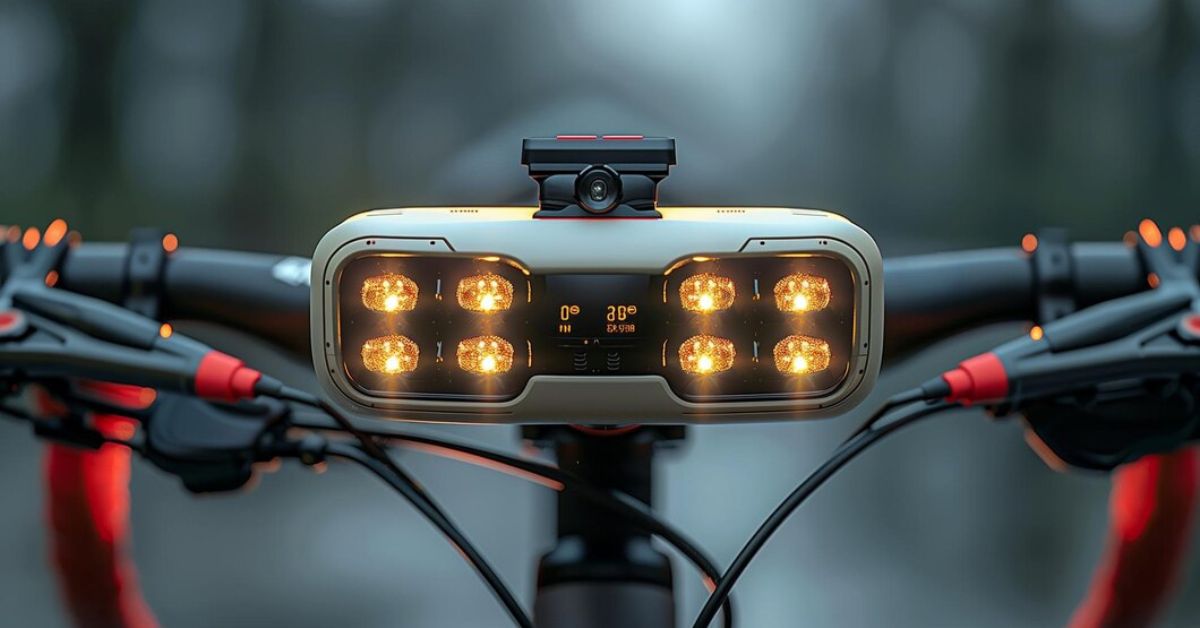
What is the NR 600 Micro Bike Light Manual?
The NR 600 Micro Bike Light Manual is a high-performance, rechargeable bike light designed to improve visibility for cyclists. Compact yet powerful, this bike light is perfect for both city streets and off-road trails. The NR 600 offers multiple light modes, a robust build, and a user-friendly interface, making it an excellent choice for riders of all skill levels.
Why You Need a Reliable Bike Light
Cyclists face numerous challenges, from unpredictable weather to low visibility at night or in early mornings. A reliable bike light like the NR 600 is essential for increasing your visibility to motorists and pedestrians. It also illuminates your path, ensuring you can avoid obstacles and ride with confidence in the dark. Safety on the road shouldn’t be compromised, and having the right light is a critical component of a safe ride.
Key Features of the NR 600 Micro Bike Light Manual
The NR 600 is packed with features that make it stand out from other bike lights on the market. Here are some of its top features:
- High Lumen Output: The light provides up to 600 lumens of brightness, ensuring excellent visibility even on the darkest roads.
- Multiple Lighting Modes: The NR 600 offers several modes including high, low, and flashing settings, allowing you to adjust the light according to your needs.
- Water-Resistant Design: Built to withstand the elements, the NR 600 can handle rain and wet conditions without issue.
- Rechargeable Battery: The light comes with a USB-rechargeable battery, meaning you’ll never have to worry about replacing batteries. Simply charge it up, and you’re good to go.
- Lightweight and Compact: Despite its power, the NR 600 is compact and lightweight, making it easy to attach without adding bulk to your bike.
How to Install the NR 600 Micro Bike Light
Installing the NR 600 is a straightforward process that requires no technical expertise. Here’s how to do it:
- Choose Your Mounting Spot: Most riders prefer to mount their bike light on the handlebars for optimal visibility. Ensure that your handlebars are clean and dry before proceeding.
- Attach the Mounting Bracket: The NR 600 comes with a mounting bracket that fits snugly around most handlebar sizes. Place the bracket on the handlebar and tighten the screws or straps provided.
- Secure the Light: Once the bracket is firmly in place, attach the light by sliding it into the mount. You should hear a click, indicating that the light is secure.
- Adjust the Angle: Tilt the light slightly downward to illuminate the road ahead without blinding oncoming traffic. Adjust the angle as needed to achieve the perfect beam focus.
Optimizing Your Light Settings
To get the most out of your NR 600, it’s important to know which light mode is best for your riding conditions. Here’s a breakdown of the light settings:
- High Mode: This mode emits 600 lumens and is ideal for dark, unlit roads or trails where maximum visibility is needed.
- Low Mode: Perfect for well-lit streets or conserving battery power, the low mode gives off a softer glow without sacrificing safety.
- Flashing Mode: A flashing light is great for daytime use or alerting drivers and pedestrians of your presence. It also helps conserve battery life when you don’t need constant illumination.
Charging the NR 600 Micro Bike Light Manual
One of the standout features of the NR 600 is its rechargeable battery. To keep the light running at its best, follow these charging instructions:
- Connect the USB Cable: Use the provided USB cable to connect the light to a power source, such as a computer or wall adapter.
- Charging Indicator: The light will display a charging indicator, typically a red LED, to show that it is charging. Once fully charged, the indicator will turn green.
- Charging Time: The NR 600 typically takes about 2-3 hours to fully charge, depending on the power source. Make sure the light is fully charged before each ride to avoid running out of power mid-ride.
How to Maintain Your NR 600 Micro Bike Light Manual
Like any piece of equipment, the NR 600 requires proper care to ensure long-lasting performance. Here are some maintenance tips:
- Clean Regularly: Wipe down the light with a damp cloth after each ride to remove dirt and grime. Avoid using harsh chemicals, as they can damage the light’s casing.
- Check for Damage: Regularly inspect the light for any cracks or signs of wear, especially after heavy use or if you’ve dropped the bike.
- Keep it Dry: While the NR 600 is water-resistant, it’s a good idea to dry it off after riding in the rain to prevent moisture build-up inside the light.
Maximizing Battery Life
The rechargeable battery in the NR 600 is designed for longevity, but there are ways to maximize its lifespan:
- Use Low or Flashing Mode: For everyday commuting, using the low or flashing mode can help conserve battery power.
- Charge Regularly: Don’t let the battery completely deplete before charging. Regular, partial charges can extend the overall battery life.
- Store Properly: If you’re not using the light for an extended period, make sure to store it in a cool, dry place and partially charged to maintain battery health.
Troubleshooting Common Issues
If you encounter any problems with your NR 600 Micro Bike Light Manual, here are a few common solutions:
- Light Not Turning On: Check the battery level and ensure the light is fully charged. If the battery is depleted, plug it in to charge.
- Flickering Light: This can be caused by a loose connection. Make sure the light is securely attached to the mount and that the battery is fully charged.
- Dim Light: If the light appears dim even on high mode, it may be time to recharge the battery.
Conclusion
The NR 600 Micro Bike Light Manual is an essential accessory for any cyclist, offering powerful illumination, multiple modes, and a durable design. Whether you’re commuting through the city or exploring off-road trails, the NR 600 ensures that you stay safe and visible in any condition. By following this manual, you’ll be able to install, maintain, and optimize your bike light for years of reliable use.
FAQs
How long does the battery last on a full charge?
The battery lasts up to 6 hours on low mode and around 2 hours on high mode.
Is the NR 600 water-resistant?
Yes, the NR 600 is designed to withstand rain and wet conditions.
Can the light be mounted on a helmet?
While designed for handlebars, the NR 600 can also be mounted on certain helmets with compatible mounts.
Does the NR 600 come with a warranty?
Most NR 600 lights come with a manufacturer’s warranty, but it’s best to check with the retailer for specific details.
How do I know when the light is fully charged?
The charging indicator will turn green once the light is fully charged.